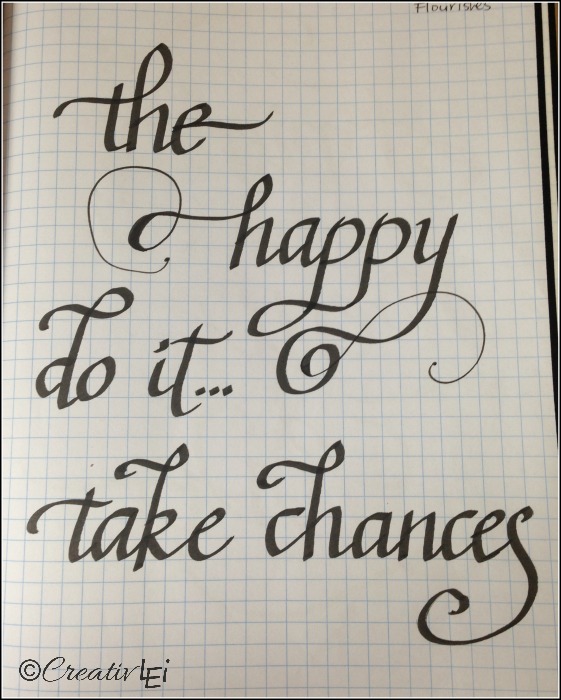
I’ll admit, this week of #LoveYourLettering may be my favorite. Honestly, the soft tip brush pens are one of my absolute favorite lettering tools!
We’re going to ease into using a brush pen by starting in pencil.
Remember how using broad nib pens was all about the angle? Well, with a brush pen it’s all about the pressure.
When we practiced faux calligraphy I talked about adding weight to the downstroke. With the brush pen, adding pressure to your downstroke is going to produce those nice thick lines, while you release the pressure on the upstroke for the hairlines.
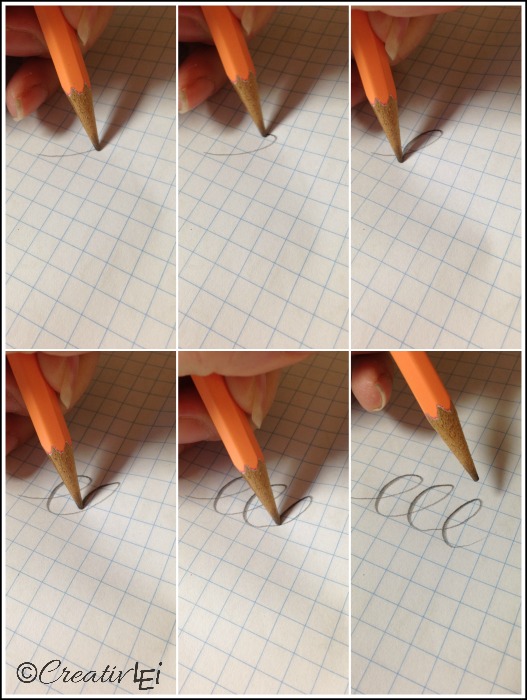
Using a pencil is a great way to take notice of the pressure without fear of ruining your brand new brush pens.
You’ll want to go slow so that you’re very intentional about your marks. On the upstroke you’ll barely drag the pencil across the page, then as you turn to go down you’ll press that pencil into the page. If you’re using a soft lead pencil (any of the ‘B’ series art pencils) you won’t have to press incredibly hard to get that dark line.
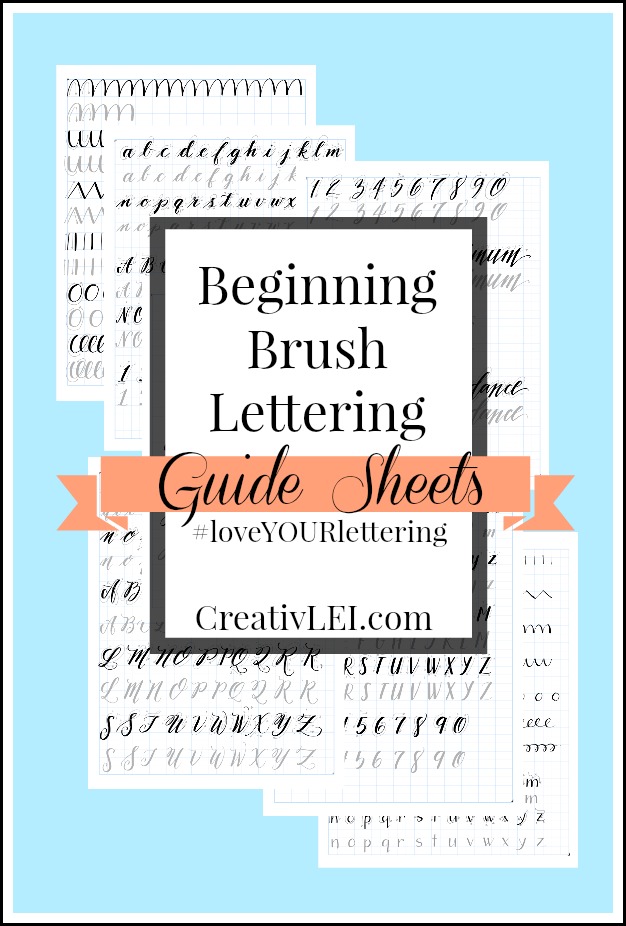
A companion guide is now available for this section of LoveYOUR Lettering click on the image:
As with all the other lettering styles we’ve covered, practicing basic strokes that appear in all the letters will help to define your finished writing.
Once you start to get the feel of varying the pressure of the down stroke try writing a sample alphabet, in print or cursive, putting to practice the pressure and release.
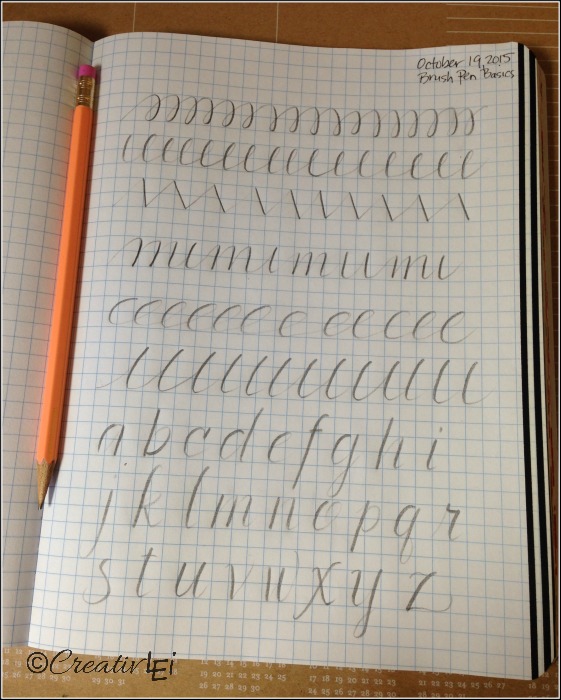
You can even do this exercise in colored pencil, but remember that those aren’t usually erasable.
I’m so excited for you all to try the brush pens this week.
Here’s our Periscope chat demonstrating this technique with pencils (and some brush pen tests).
These are the pens from Tombow that I’ll be using most often this week (Amazon affiliate links, please read my full disclosure statement here):

**You can find all of the previous assignments on the series index page here (or by clicking on the image above). A list of basic lettering supplies can be found in this post.**
