Let’s get ready for more lettering!
I know you’re excited to dive into a month of lettering again, but what you really want to know is…
What do I need to participate in #loveYOURlettering 2?
I’m going to start the way I did for LYL1, and tell you please DO NOT feel the need to #buyallthethings!
Take a look around your current stash and see if you already have what you need. Missing something but it’s not in the budget? It’s totally okay to follow along without having all the extras. I want you to take away the instruction without being burdened by the expense. I’m a mom of many and I know what it’s like to put my interests and hobbies on hold while growing a family. I want you to have a little creative time that doesn’t burden your family budget. When you are ready to add new supplies, come back and revisit that lesson, the info will still be here.
(Disclosure: Many of the links used on this site are affiliate and referral links. If you click on and purchase through these links I may make a small commission (sometimes it’s literally pennies, but whatevs). That commission is at no extra expense to you, which is pretty awesome. I value your trust and only link to products I use, love, or am saving up my birthday money to buy. You can read my full disclosure statement for more information. Feel free to ask any question you have regarding these links.)
Supplies I’ll be using this month:
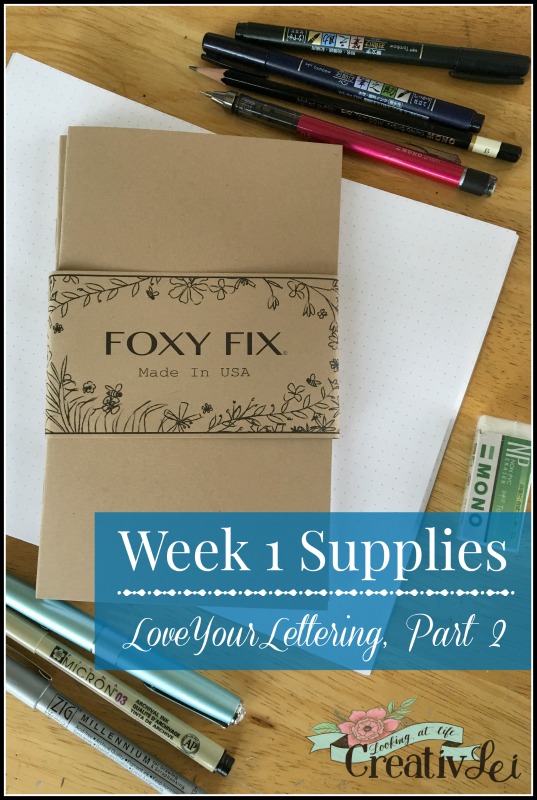
Week 1 – A review of LYL1.
I’ll be practicing/demonstrating penmanship basics in my Foxy Fix dot grid insert. Mine is a no.7 (5×8.25″), feel free to use your favorite notebook that’s already on hand. You’ll need any pen or pencil and a brush pen. I’ll be using a Tombow MONO graph pencil and/or drawing pencil, NP eraser, Fudenosuke brush pens, and a fine point pen (the Zoom pen pictured was a gift from Tombow and I LOVE it, it doesn’t bleed through most pages. I’m not advocating that you invest in one for this series, but it might be a nice wishlist addition for the holidays or a big milestone).
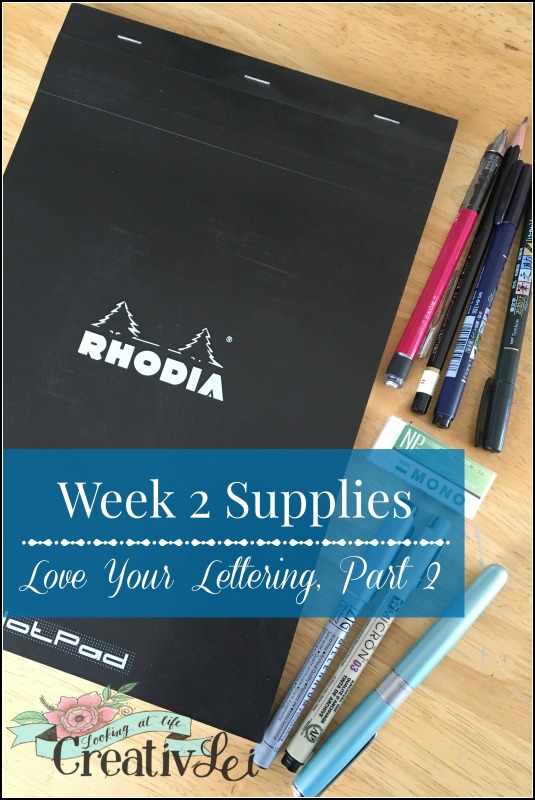
Week 2 – Exploring Style and Design.
After brushing up on basics, we’ll talk a little more about the design process. I’ll be using a Rhodia dot pad. The pages are smooth and thick and require no prep. Alternatively, you can use the same notebook you use in week 1. For pens, I’ll using the same writing utensils as week 1.
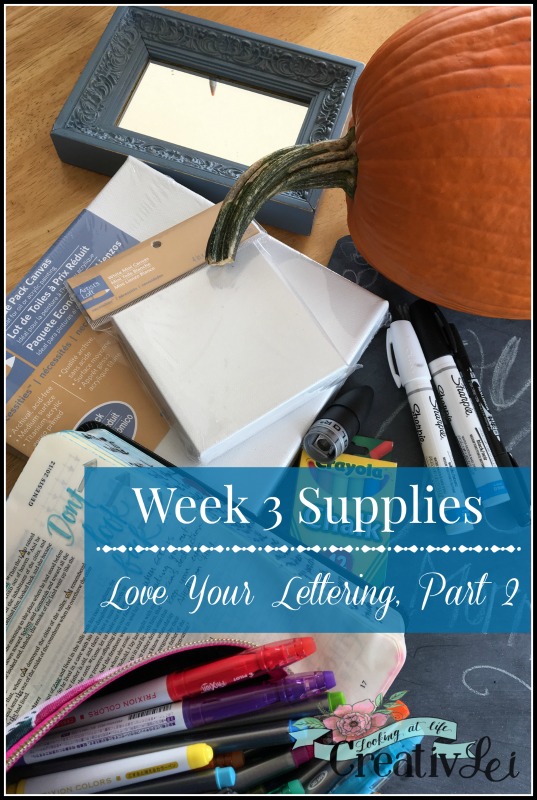
Week 3 – Lettering on Various Surfaces.
We’re moving off the page now… Hang on! First up is lettering on canvas. I usually stock up during sales at Michaels, throughout the year. I’ve seen packages of small canvases at Walmart and Target, too. The tiny canvas and frame sets are great for creating gifts. Use whatever you find near you or have in your stash. I like using the water-based Sharpie paint markers as well as the Tombow Mono Twin when lettering on different surfaces. Even if I’m going to go over the lettering with paint and a brush, I usually start with one of these tools to lay down my design.
We’ll also use the paint pens to draw on glass (or a mirror) and a pumpkin! Get out your chalks, because we’ll talk about chalk lettering this week, too. I use an enclosed metal pencil sharpener to get a fine point on regular chalk. At the end of the week I’ll show you some of the ways I write in my journaling bible and which tools I use (spoiler alert: I actually do more note-taking than art).
Week 4 – Lettering without a Pen.
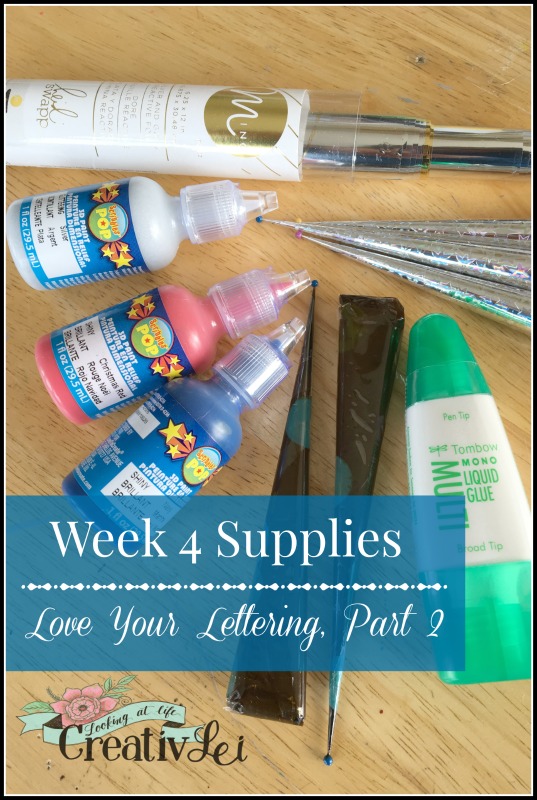
Sounds crazy? It’s not as crazy as you think. This week we will be using alternative media for creating lettering. Think fabric paint, frosting, glue, and henna! The first step will be learning how to roll a cone from a sheet of cellophane (you can probably find fun seasonal cello bags at Michaels or Walmart, locally). Grab a small pack of straight pins, too. I’ll show you a couple of ways I use the Tombow Multi Glue with Minc foils.
A note regarding henna:
Lots of you have followed along as I’ve been practicing henna art over the past year. One of my favorite things is to include words or phrases into my motifs. I’ll demonstrate my process. If you’d like to order henna to practice with me, I highly recommend Mehndika Joey Henna. She ships freshly made, SAFE, natural henna weekly. When I’m not mixing my own, this is where I always order from. Please do not use shelf-stable henna purchased online or in ethnic markets, it is not natural henna and may cause a chemical burn. Alternatively, you can use body lotion in a cello cone (under the inspiration of Joey again, she’s brilliant) to play with the process without a stain.
I know that seems like a lot, but again I’ll stress that you don’t need it all. Look around and use what you have on hand. If you only have a notebook and pen, join us! You’ll still have plenty to work on throughout the series.
If you have any questions about the supplies, be sure to comment here, message me on the FaceBook page, or email me.


Can’t wait to start. I did not take the first Love your Lettering, will it be easy or possible to follow?
Hi, Rachel! Thanks for joining. I think you’ll be fine. During week 1 we’ll review some of the key exercises from LYL1 that will be used in LYL2. Any time you get stuck, just let me know and I’ll do my best to demonstrate for clarification.
When will the first lettering session start? And will it be via periscope in the evenings? I just want to be sure not to miss anything.:0)
Hi Sherry, Periscopes and new instruction will run Monday-Friday each week. Thanks for joining!
Can’t wait for more of love your lettering! I have been encouraging my journaling group friends to follow your page. This has helped me so much and I know they will gain so much from you. Looking forward to part 2!
SO glad to have you coming through with me again, Robin.