You can letter on anything, not just flat surfaces. Since it’s October let’s give lettering on a pumpkin a try!

Lettering on a flat surface only requires to ability to create letters. When we move to alternative surfaces, like a pumpkin, river rocks, or a glass ball ornament, we need to consider the curves as we lay down our lettering. As a lefty, it also means I need to get creative about keeping my hand out of wet ink!
Disclosure: Many of the links used on this site are affiliate and referral links. If you click on and purchase through these links I may make a small commission (sometimes it’s literally pennies, but whatevs). That commission is at no extra expense to you, which is pretty awesome. I value your trust and only link to products I use, love, or am saving up my birthday money to buy. You can read my full disclosure statement for more information. Feel free to ask any question you have regarding these links.
Clean your surface to prepare for lettering.
I wiped down my pumpkin with a damp paper towel. Anything from nature that your lettering on will need a simple surface wipe so that you don’t damage your pens with dust and dirt. (For a glass ornament, clean it with a bit of window cleaner to make sure fingerprints are gone.)
Use chalk to plan your lettering design.
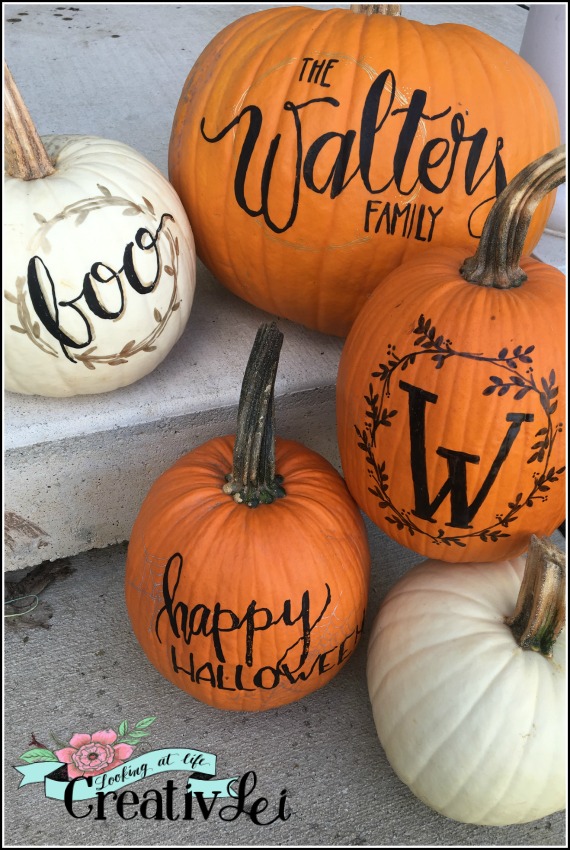
When I want to be sure my lettering will fit, I sketch out my design in chalk before lettering with the paint pen. While drawing monograms I’m more likely to just put the pen to the surface. I’m wild and crazy like that.

Use good paint pens for satisfying results when lettering on alternative surfaces.
I prefer the water-based paint pens because the color lays down nice and opaque right from the start. Oil-based pens tend to need a few layers of paint to stand out boldly, and take longer to dry between layers which is not good for a lefty.
Add doodles to pull it all together.
Simple frames or wreaths, or added doodles like spiderwebs, really help to pull the whole design into a complete look. I like to use a contrasting color with an extra-fine point for these final details.

Protect your finished work with a spray coating.
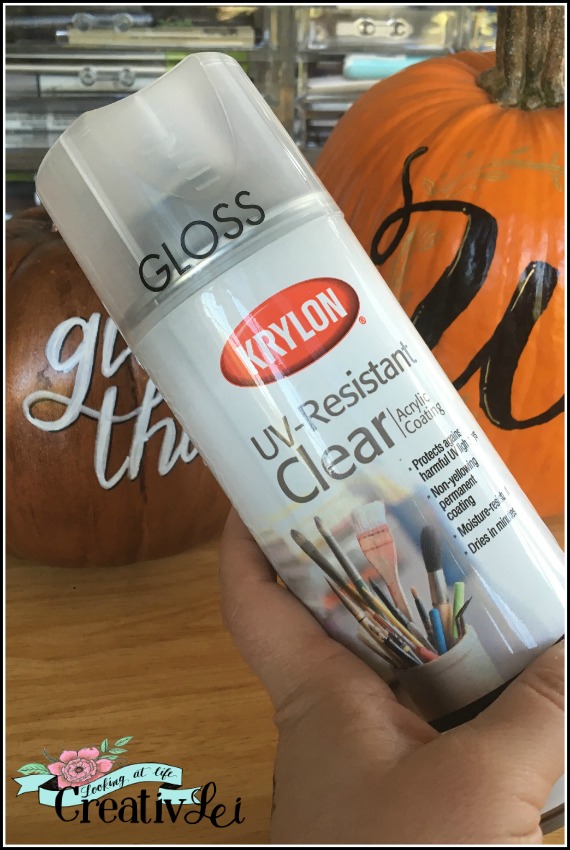
If you are keeping your decor outside, or if they are indoor decorations that you wish to store for another season (NOT fresh pumpkins), spray a thin layer of protective spray paint on your finished work. My preference is the clear coat from Krylon. Be sure to spray outside, or in a very well-ventilated area.

Here’s a video demonstration of lettering on a pumpkin (and a foam craft pumpkin):
Some supply recommendations:

It’s great that there’s finally someone who teaches being left-handed! We are always adapting to right-hand instructions!
Thankyou! Love your blog and lessons!
Thank you so much, Kathi! It is my privilege to encourage lefties in calligraphy and hand-lettering. I know sometimes it’s hard to adapt from right-handed instruction. Please let me know if there’s anything I can help with.
When are we going to get a new post? I miss my LYL2 daily prompts! =) Hope everything is ok Lisa!!!!!
Hi Katie. Thanks for checking in. Unfortunately as I was finishing up the remaining posts I made a blunder and deleted 6 out of 7 of the videos as they were prepping to be uploaded to YouTube. Unfortunately that means I need to completely re-film and photograph those topics. I am hoping to do that through the weekend. I’m so sorry to keep you all waiting!