Another off-the-page lettering option that I love is chalkboards. From small frames to large walls, chalkboard lettering is fun, decorative, and purposeful!
Disclosure: Many of the links used on this site are affiliate and referral links. If you click on and purchase through these links I may make a small commission (sometimes it’s literally pennies, but whatevs). That commission is at no extra expense to you, which is pretty awesome. I value your trust and only link to products I use, love, or am saving up my birthday money to buy. You can read my full disclosure statement for more information. Feel free to ask any question you have regarding these links.
For this project I’m working on a small square chalkboard I found in the Target One Spot (or as I like to call it, the $20 spot, if you know what I mean). These techniques could be applied to bigger pieces and chalkboard painted walls.
First you season your chalkboard surface.
Why do you have to season the chalkboard?
Don’t you want that nice crisp black background?
Well, yes and no. You season the surface to avoid any ghosting from old chalk marks. This initial layer of chalk dust gives a good surface to work on without damaging the primary layer of the chalkboard paint finish. Don’t worry about that sharp black background, we’ll talk more about that in a minute.
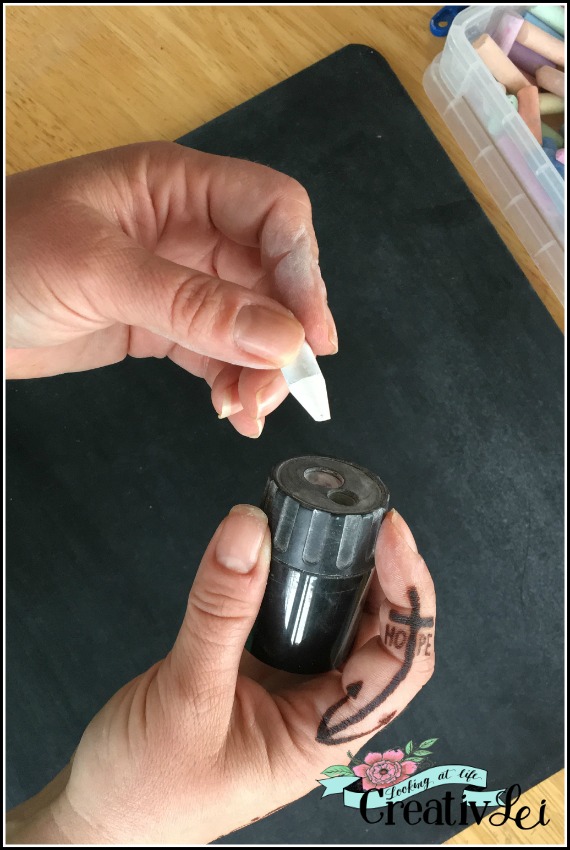
To create a nice point on blunt craft chalk, I use a pencil sharpener. The metal sharpeners that are enclosed in a plastic case work great for this (once you get over the sensory issues of sharpening chalk).
Then start sketching out your lettering.
Don’t worry if it doesn’t come out the first time. Mine very rarely never does. But, that’s the beauty of chalk. It’s cheap and easy to restart.
I work in sections so that I can erase parts that I need to redo while leaving the portions I’m satisfied with.
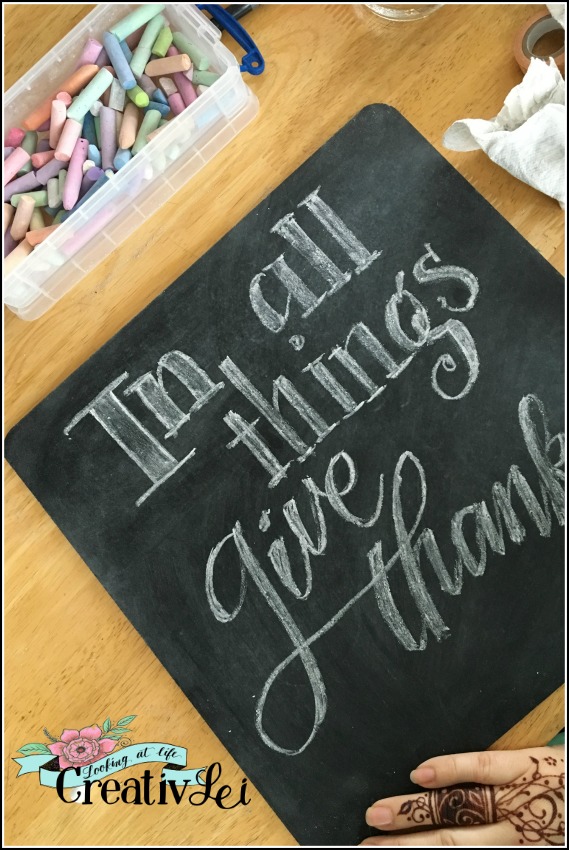
Once I have the lettering the way I like it, I go back with a dampened cotton swab and draw in drop shadows. Now you’ve got that crisp black showing through to make your lettering POP!
Add doodles and frames to create a finished look.
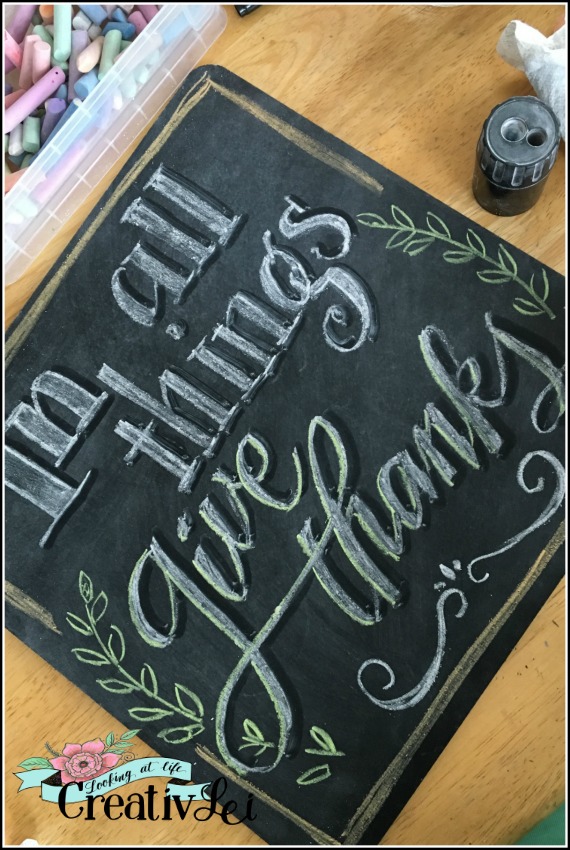
Simple frames, banners, or doodles really help to complete the piece.
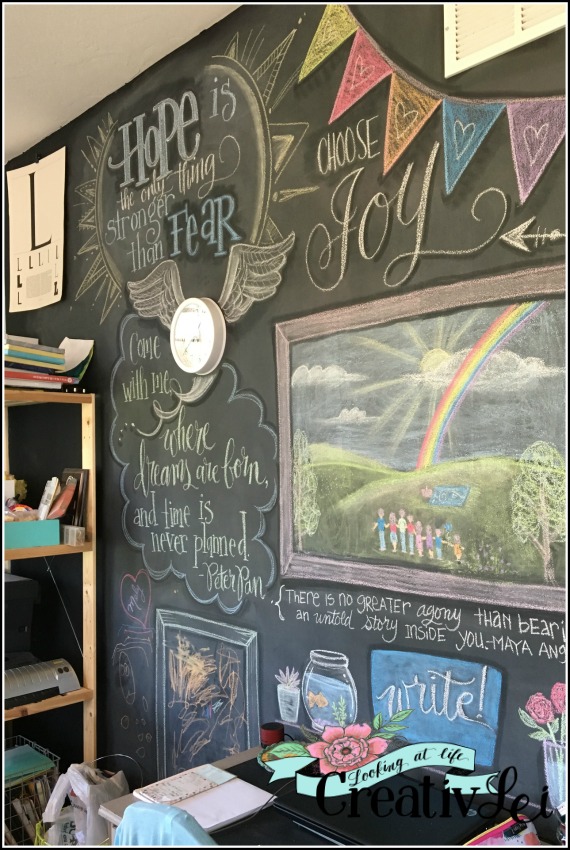
Once you start with these small projects, you can apply what you learned to projects much bigger. This is the chalk wall of my studio. I only change it out every few months, because once I finally put all the pieces I like together I like to enjoy it for a while. I try to switch it up with the seasons.
Watch this video demonstration of how I work on a small chalkboard:
Supplies I use for chalkboard lettering:
For more posts in Part 2 of #loveYOURlettering, visit:
I just paid for the handwriting practice pages. I got the link that said download and it won’t let me download the pages, It says there is an invalid download link. Would you please check it and resend it? Thanks
I’m emailing you now. 😉