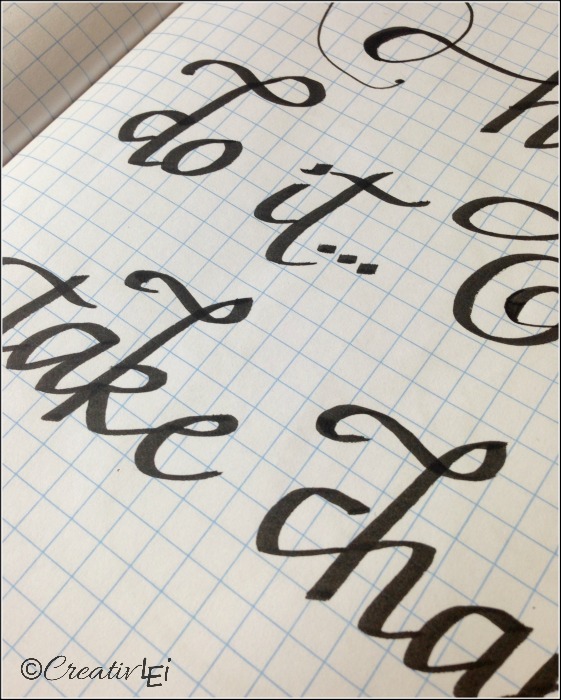
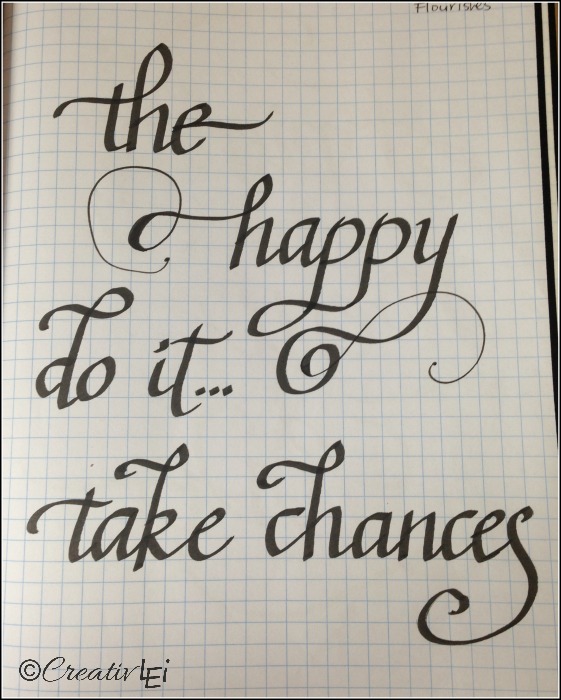
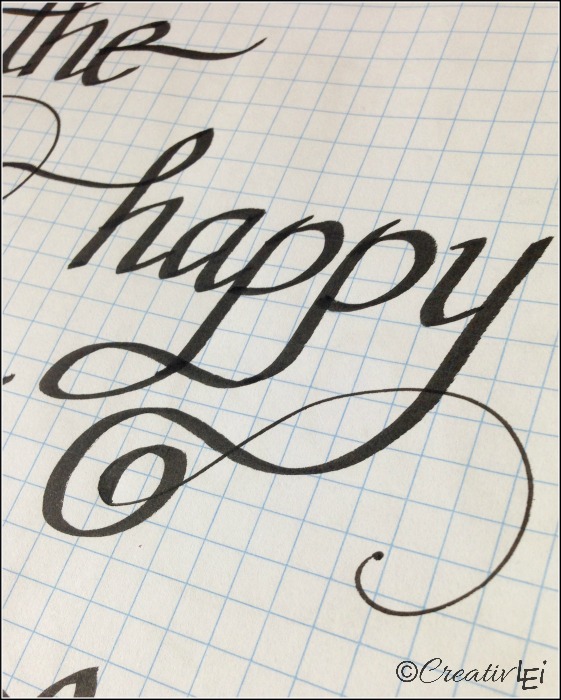
Here’s one of the tips you’ve been waiting for to enhance your creative lettering, adding FLOURISHES!

Maybe you’ve been nervous to try flourishing your words because you weren’t sure what goes where.
That’s a completely valid concern. Flourishes that are misplaced end up adding chaos and confusion instead of beauty.
When I studied calligraphy, I was taught to use flourishes to compensate for spacing errors I made when creating layouts. With that in mind, the places you would make use of flourishes are, on the capital letters, on the ascenders or descenders, on the final letter of a word, or to reduce some of the negative space.

You can add flourishes using the calligraphy pen (just be sure that when your lines cross, that you avoid crossing thick with thick lines).

You can also make use of the fine tip pen to create loopy flourishes.
I like to allow the base of some letters to cross the base line, for added interest, especially the S’s!

If you don’t want to jump right into flourishing with ink, try using a pencil first to sketch out the possibilities.
These are really hard to explain in type, so here’s the update on Periscope as well as a flourish demonstration!
It went a little long, so you may need to fast forward through parts.

**You can find all of the previous assignments on the series index page here (or by clicking on the image above). A list of basic lettering supplies can be found in this post.**

Is the periscope flourishing video available in another format. I would love to watch it on my computer.
Hi Shannon, and welcome! Unfortunately those original broadcasts were before Periscope archived everything. I will be shooting new videos soon, but I am currently working through the second part of the #loveYOURlettering series. Thanks for your patience, I know it can be frustrating to not have all those videos ready for play.
AH, this was on YouTube, it’s not the greatest transfer from Katch, but hopefully it will help while you’re working through the series. https://youtu.be/-NTCqAERd5k (don’t worry abut the upside-down part, all of the instruction is right-side up.) 😉