Are you starting to feel more comfortable with the rhythm needed for brush lettering?
Today we’ll use the brush pen with our natural handwriting.
I know that getting used to varying the pressure while writing is a tad tricky. With more practice, it will become more natural.
Warm up your hand with a pencil to get your pressure check, then write the alphabet in print and cursive.
You can write at a slant, or more vertically, whichever is more natural to you. For this assignment, your focus is going to be on the pressure, not the slant.
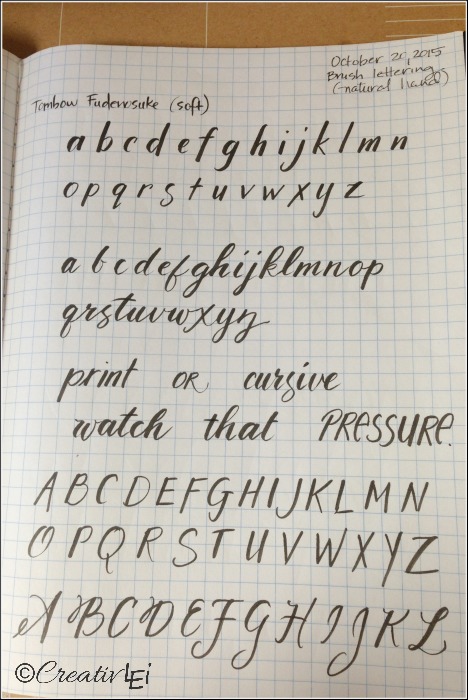
You will be barely skimming the paper on the upstroke. You’ll want to position your grip fairly close to the pen tip, to have greater control over the pressure.
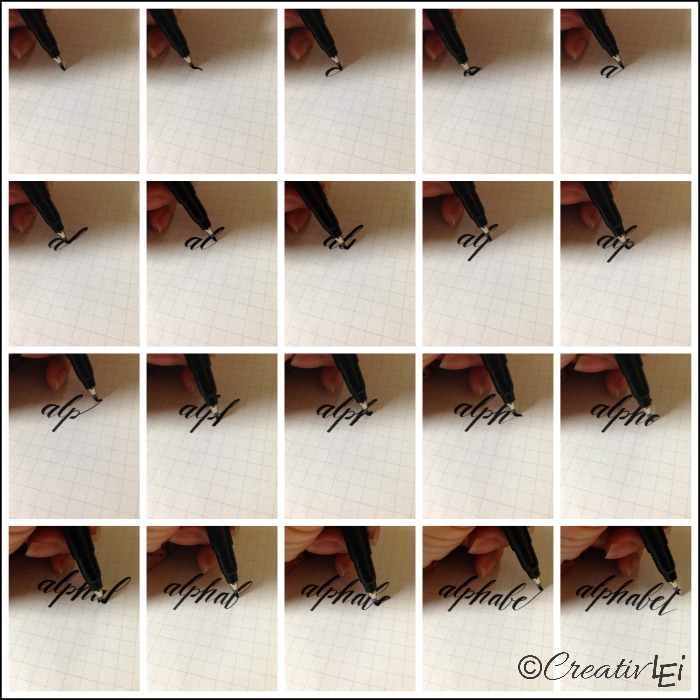
Try writing a few words to play with how the letters connect.
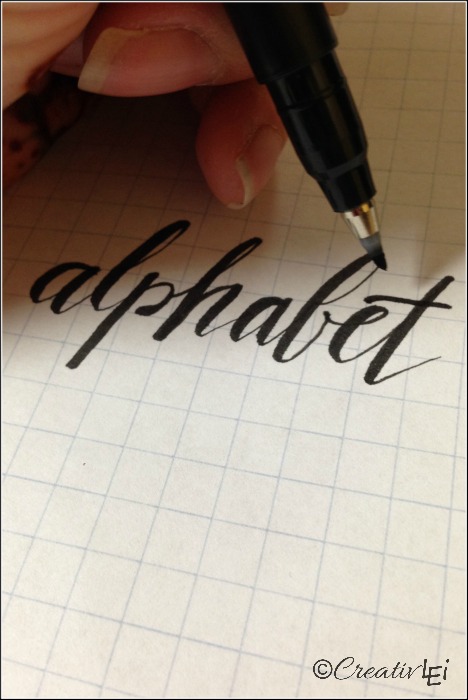
When I write with the brush pen, I tend to mix print and cursive a bit. I find that the brush pen most naturally fits with my handwriting for creative lettering.
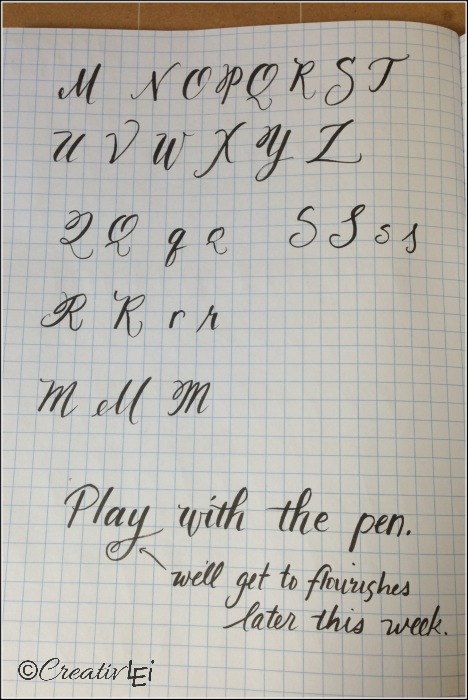
I sometimes have to make slight changes in the position of the pen tip while I write, to ensure I get a good hairline. The more you use the brush pen, the easier it will be to find the little tricks that make this form of writing a little easier.
Watch this video demonstration on my brush lettering technique with basic handwriting exercises:
A companion guide is now available for this section of LoveYOUR Lettering click on the image:
The pen I used in these samples is the soft tip fudenosuke pen from Tombow. (Amazon affilitate link, disclosure statement found here)

**You can find all of the previous assignments on the series index page here (or by clicking on the image above). A list of basic lettering supplies can be found in this post.**

Leave a Reply