This week we’re switching pens! After the past week and a half of using a regular pen or pencil, we’re going to explore lettering with a calligraphy pen. There are a few different ways to use a flat-nib pen, and we before we get too far, we’re going to practice some basics.
Work at the right size.
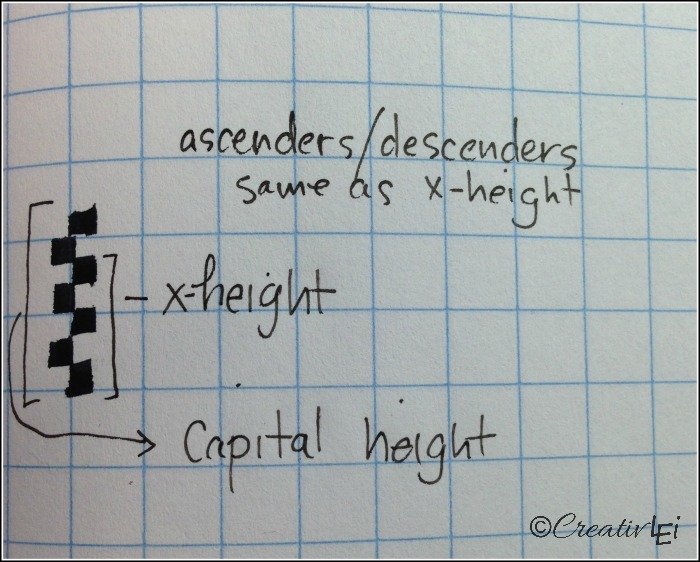
Use the pen to decide what size you’ll work at. The width of the nib shows you what your x-height (5 nibs high), cap-height (7-7.5 nibs high), and ascenders and descenders (same as x-height) should be.
It’s all about the angle.
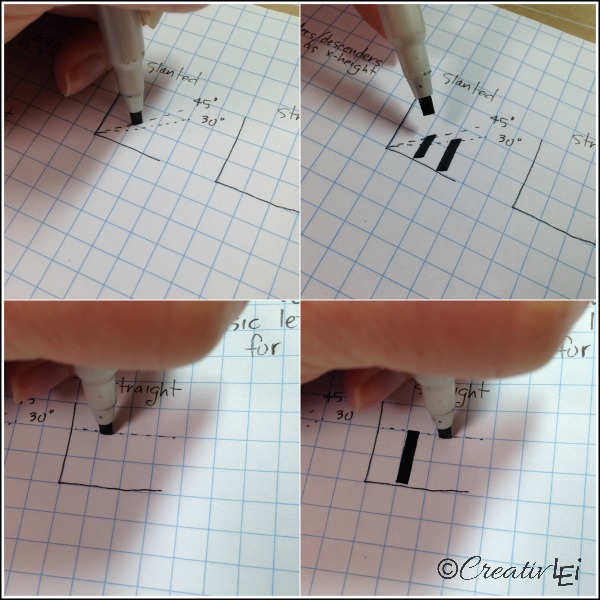
Learning the appropriate angle for the flat-nib pen is the first step, and the most important for using a calligraphy marker. You can use the flat-nibs at a 30-45* angle for a slanted pen or parallel to your base line for a straight pen.
Laying a foundation of basic letter forms.
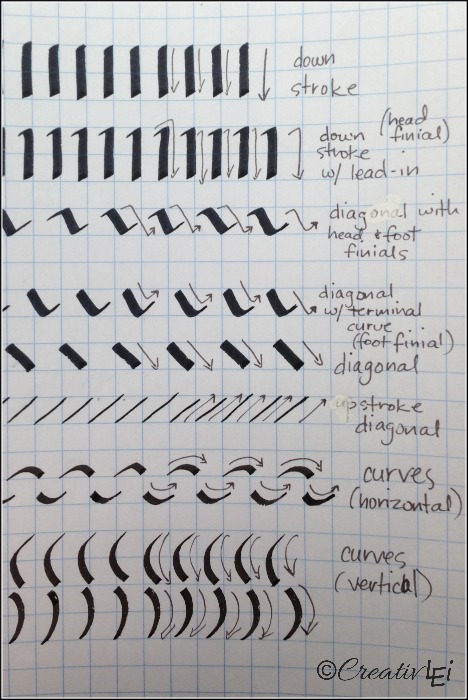
Remember the letter forms we practiced with our regular pens? Now we’re revisiting those forms with a flat-nib pen. I’ll be using calligraphy markers for this week. You could certainly use a dip-pen for these exercise, but I find that a calligraphy marker offers a lot of forgiveness while learning. The markers are also very helpful for lefties, like myself.
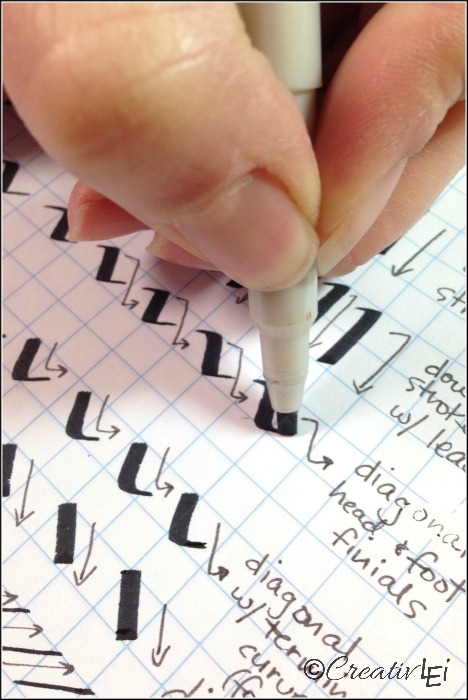
First I made a page of practice with a slanted pen.
Once you decide on the angle to hold the nib, use that same angle throughout. Do not twist the pen in your fingers, instead move your hand/arm.
Then I made a page of straight pen practice.
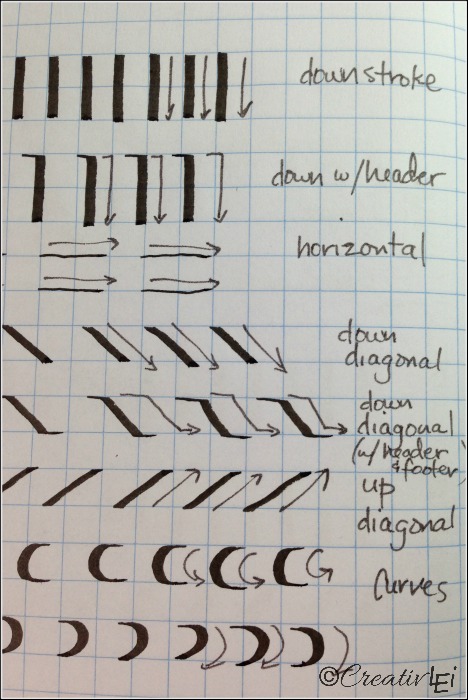
Each of these angles will be used to create different lettering looks throughout the week.
Here is this assignment’s demonstration:
**You can find all of the previous assignments on the series index page here (or by clicking on the image above). A list of basic lettering supplies can be found in this post.**
Hi Lisa!
I don’t understand what you mean by “work at the right size.” Is that how tall the ascenders are and how far below the baseline the descenders fall? If you could talk about this tonight I’d appreciate it!
Hi Lesa, I explained a little bit on tonight’s periscope, but I will be sure to talk more about it as we dive into letters tomorrow!
This is such fun. Thank you so much!
Thank you so much. Starting to have so much fun with writing can’t wait to see whats next! Tape two pencils together our genius. Love this tip. Looks amazing.
I’m so glad you all enjoyed that. It’s especially helpful if you want to use that style in a larger format.
Im finding it challenging using the Calligrphaer pen that I am using. I’m using the Sakura 50319 3-Piece Pigma Blister Card Calligrapher Pen Set from amazon. It appears to stop writing while I’m using it at times. Is this just a learning curve or do you recommend another pen.
Natalie, I’m using that one for some practice, too. I do find that it is a little more finicky than some of my other calligraphy markers, it requires keeping that nib pretty evenly pressed to the paper. I find that I need to go back and fix a few skips in most words. But, I will say that I see the benefit of that style nib being that it won’t damage or wear out easily, like many felt nibs do.